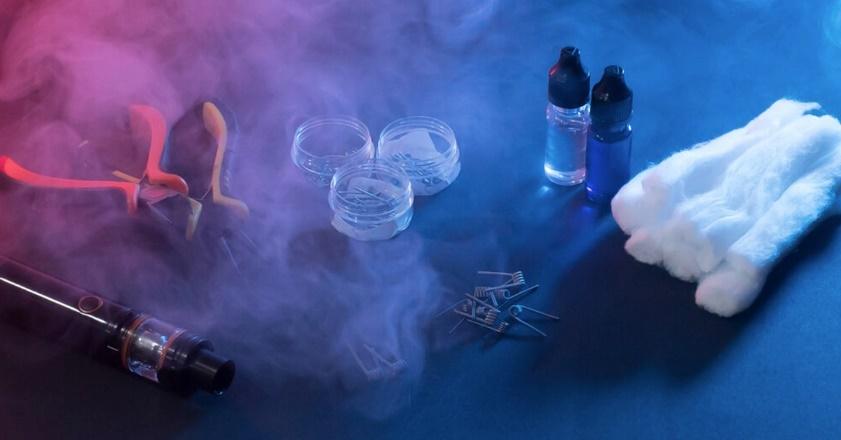
Vape coils are one of the most vital parts of your vape because they are responsible for heating the e-liquid in your device and turning it into vapour. Since they are constantly heating the flavour, the resins build-up from the vegetable glycerin and some darker e-juice flavours used in e-liquid manufacturing stick onto them.
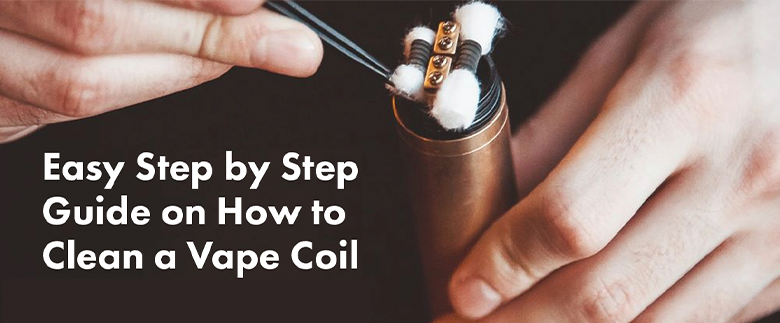
Cleaning Different Types of Vape Coils
In general, there are two types of coil used in vapes. Despite both being replaceable and fulfilling the same purpose, they require an altogether different method for cleaning. So before beginning the clean process, you got to know what coils you have in your possession. Therefore, first, we have to understand each vape coil type and then how to clean them up.
Cleaning Prebuilt Coils
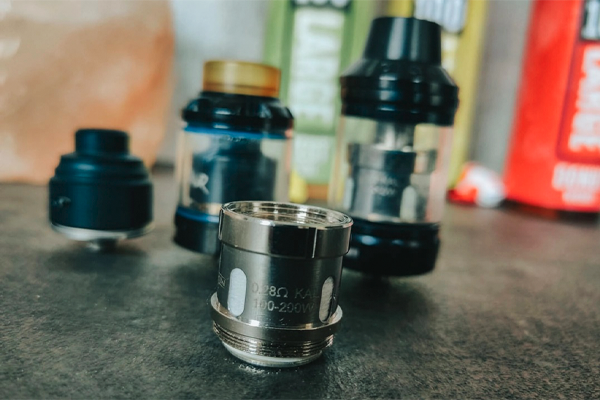
These coils are encased in a small metal chamber containing an absorbent wick. And as the name suggests, they are available as a replaceable accessory that needs a regular changeup. Frequently cleaning the prebuilt coil will help these coils last longer, although it's better to know that they will last an average of around two weeks. But one extra week is still worth the work you put into cleaning the gritty coil.
Now that you are well versed with what Prebuilt coils are, it's the lesson time on how you can clean those built up that have been clogging your vapes:
- Let it Soak: To begin with, just take out the coil and drop it into a bowl filled with ethanol, vinegar, or some leftover alcohol for at least a few hours. This will help the gunky resin build-up soften, making the cleaning process more manageable.
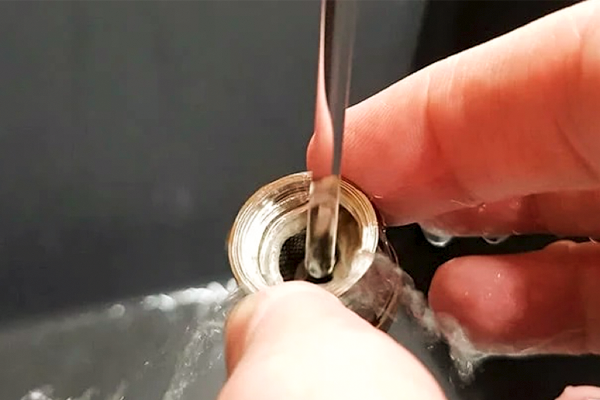
- Yes! You can rinse your vape coil with water: Now that your vape coil has been soaked up and the build-up has turned soft, It's time to put your coil under a running tap and let the water pressure do the cleaning. If you somehow get tempted to add some extra cleaning by adding soapy detergent, let us beware in bold: DON'T DO IT! If you don't want to vape soapy bubbles into your lungs.
- Going the extra mile: Now that the vape coil is thoroughly rinsed with tap water. Find some distilled water and rinse one more time with it. Vehemently Resist using detergent this time too.
- Blow into the Wicking hole: Now the long drags will come in handy! On the open side of the vape coil, you need to blow as hard as you can so you can force out water.
- Let it Bake: After cleaning out all the grime coil-killer built up, you have to let the water evaporate completely. Once every drop of water evaporates, you have to prime the cotton with just a few drops of e-juice so the absorbent can quickly wick the flavour. Vola! Your vape is ready, and you have stopped a new coil from burning a hole in your pocket for at least a week.
Buy high quality Vape Coils: https://www.olivastu.com/vape-shop/coils
Cleaning Coils for Rebuildable
For the rebuildable coils, the user has to install the coils first, and the cotton has to be primed, which can then wick the flavour. These are long-lasting type vape coils if you can clean them frequently. And suppose you're one of those vapers who believes in building up a new atomiser rather than cleaning them. In that case, we assure you that you are certainly suffering in flavours and vapour Production after a few days of vaping because of the gunked-up coils. So, if you want to avoid losing the charm of vaping, you need to know how to clean up the coils for a rebuildable atomiser. Just follow these few easy steps and have your coils almost as good as new in no time:
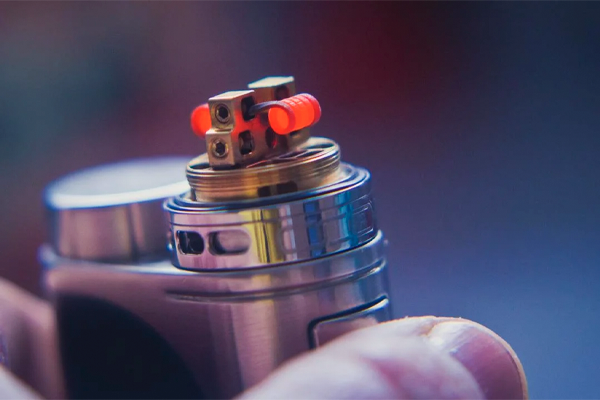
Begin by checking the condition of your coil– if they are not that bad, then you can get the resin build-up cleaned with light dry burns. So you start with removing the wick from the vape coils— you don't want to roast them. Now pulse the fire button a few times until you remove the sticky resin build-up from the flavours, don't overdo the firing and let the coils cool down and re-wick.

But in case there is a reasonably good amount of gunk build-up, then dry lighting may not do the trick. Now you have to step up to deep cleaning:
- First, get the wick off the atomiser, then start pulsating dry burn to the vape coils a few times. Don't let them glow red for more than a few seconds to avoid the coils from burning down.
- Next, you have to remove the atomiser from your mod, rinse it with water, and use a toothbrush to brush off the remaining resins from the vape coils lightly.
- Now the hard part is over. Wrap it up by rinsing the vape coil once more with warm water.
- Finally, fix the atomiser back in the mod and do a few dry burns to evaporate the last remaining drop of the water from it.

Now re-wick, prime with a few drops of flavour, and your vape is ready to serve you the best flavours with a thick cloud around it.
We hope that this elaborate guide on how to clean up vape coils will be a help for you. With us, you can get all the products that you might need for your vapes. You can also join the Olivastu community for the latest news and exciting content that might enlighten your Cannabis journey.
![[Updated] Vape Pen 101 - What is a Vape Pen & How to use it?](https://www.olivastu.com/media/magefan_blog/Banner_35.jpg)