
![[REVIEW] Dr Dabber Switch: Working Modes, Settings, & Price](https://www.olivastu.com/media/magefan_blog/dr_dabber_switch.jpg)
Dr Dabber is a well-known name in the vaporizer market. Every invention of theirs changes the entire game when they enter the market. Rightfully so, their products always sit on the pricey end, making every pothead and dab enthusiast ask the same question - is it worth it? But, if you are an experienced aficionado dealing with the world of sticky concentrate and green herbs, you know that the number does not matter until they keep providing that dank hit. However, to take the hassle of indecision away from the Oli fam, we have curated a detailed Dr Dabber Switch Review, answering all your questions and doubts.
When the Switch entered the market, people looked at it with suspicious eyes, and customers hesitated to pay the said amount for the product. But as more and more dab lovers started using it, the apprehension slowly died, and now we have a solid Switch fan base. In this article, I will discuss the design, interface, usage, vapour quality, performance, and battery life of the Dr Dabber Switch.
Let's get started!
Design - Dr Dabber Switch Review
Before we start with the appearance of the device, the classy packaging is worth spending a few moments. Not only does it accentuate the overall excitement of the device, but also doubles as a carry box with handles. The box is pretty huge, almost like a video game system, and has a carefully moulded spot for each accessory and the device itself. It keeps the entire system well-organized when you're not using it and makes for a very convenient travel pack.
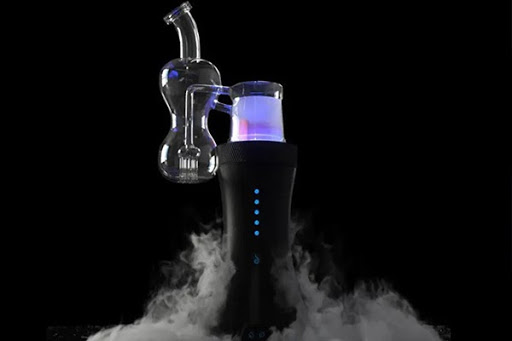
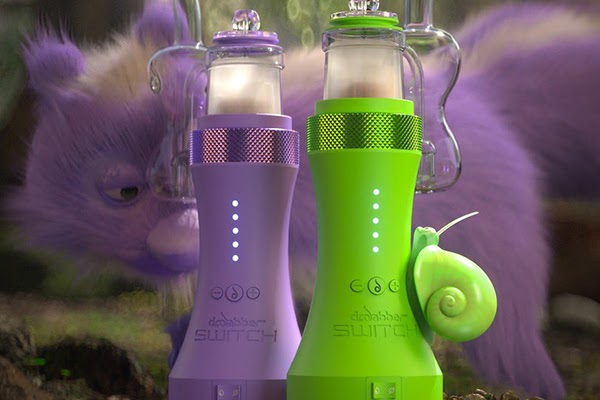
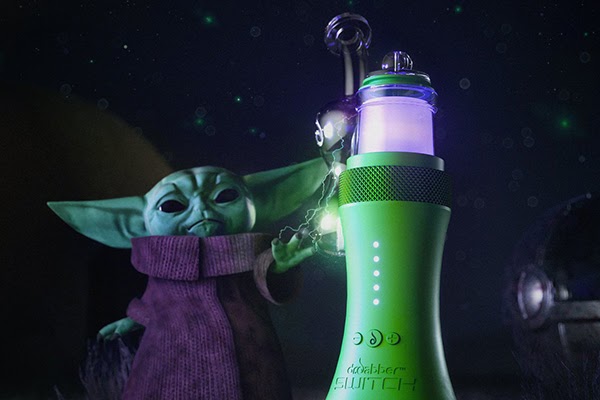
Dr Dabber moves away from the traditional minimalistic design and flaunts its sleek hourglass shape. The curve gives it a very sturdy hold and accentuates the overall aesthetic of the device. The most glorious aspect is its black satin finish that feels very fine when you grip the Switch. Moreover, the device also flaunts beefy knurling on the top along with the thick layer of frosted glass that conceals the induction coil. The frosted glass only makes contact with the metal induction cups, making it a very organized dab experience. The device alone stands at around 9.5-10 inches and 13 inches when the bubbler is attached.
The Dr Dabber Switch offers two ceramic-coated titanium induction heater cups - one in white and the other in black. The manual recommends using the black cup for Leaf mode (herbs), whereas the white one for oil mode (concentrates), but they are pretty similar, and you can use them interchangeably. The titanium cup heats up pretty quickly, offering a superior dab hit in just a few seconds. Dr Dabber also offers induction cups in other materials like quartz, sapphire and SiC (silicon carbide) separately.
The device has 5 LED lights that indicate the various heating modes. There is a button to control the modes and two temperature switch at the front of the device.
The Switch is dubbed as a portable vaporizer. However, most users find it more of a desktop device. With its height and eye-catching look, it definitely demands attention in a room. However, you can take it out for dab sessions as the heat up time is quick and pretty efficient. As for me, I prefer the dank hits when I am comfortably in my own space.
| Also Read: Homemade Dab Guide: How to make Shatter? |
What is included in the Dr Dabber Switch Box?
-
If you're paying $400 for a device, it is only fair it comes with an extensive kit to help you with the smoking session. The Switch Box contains the following:
- Switch – Induction dab rig
- glass bubbler/bong attachment
- glass carb cap/dabber
- white ceramic lined induction cup
- black ceramic lined induction cup
- reverse action tweezers
- silicone dab wallet
- wall charger
- a box that doubles as a travel case
If you ever need to replace a part, Dr Dabber sells them all separately. You can also find a few upgrades and add-ons like Swiss glass attachments, ball attachment, induction cups, and unique carb caps.
Technology & Interface
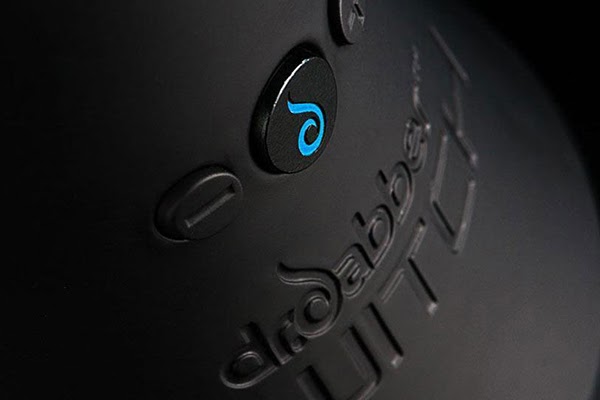
The Dr Dabber Switch has a slight learning curve. But once you start using the device, it becomes simple. The Switch is operated by three buttons; (+), (-) and a middle (Go) button. Don't worry! The device comes with a detailed user manual and instructional cards placed underneath the magnetic plate at the bottom of the device.
The power switch is used for three positions - the left one is for the dry herb version of the Dabber and the right for the oil (concentrate) mode. When the power switch is balanced in the middle, the LEDs light up and then fade out to indicate that the device is powered off.
The heat setting is altered with the (+) or (-). You can hold the button for less than 5 seconds and adjust it. To save the heat temperature, press the Middle (Go) button. If you fail to press it within five seconds, it will automatically save the selection.
The LEDs will flash pink once the heat level sets. Each LED represents 20% of the charge, and once you see them all flashing, it means you have 10% battery left, and it is time to plug it into the battery.
The Dr Dabber Switch also offers an advanced mode by holding the (Go) button while flipping the power switch on. There are five presets present for the heat setting, displayed by the five LED lights. The heat range is displayed by colour.
Start the dab session by hitting the (Go) button. The red ambient light indicates heating up and turn green when it is ready to be inhaled. If you are worried that the Switch will get too hot, it will automatically go into the cool-down mode, and the ambient light turns blue until it is ready for the next session.
As you pick up the basic functions, you would need the included tweezers to put the induction cups inside the electromagnetic coils. Make sure you keep the tweezers close!
Battery Life & Heat Up Time

Dr.Dabber claims that Switch has a long battery life, which is no different to our review. Switch, once completely charged, will give you around 148 hits and that too with a low charging time. Holy Monkeh Nuts!
The Switch comes with 25 preset temperatures ideal for dabbing and smoking a bowl. But don't worry!
You get more control, accessibility and 25 options ranging from 300°F to 800+°F once you dig a little deeper. These are available in 20-degree increments (150° C to 425° C). You can experiment with the settings to find over 100 possible combinations and settings, each giving you something to appreciate.
The only drawback here is the lack of digital display, which is compensated by the 5 LED lights that indicate your setting. It might take some time to get used to the light setting.
The Dr Dabber Switch Battery makes use of a proprietary charger which offers a complete charge in 60 minutes. Not to mention, it also allows for pass-through charging, meaning you can use the device when it is plugged in. In case the battery fails or faces any issue, you can simply get a replacement, instead of changing the entire device.
The heating process is powered through an induction heating system. This makes it extremely efficient, quick, and powerful. It usually takes about 10 seconds to heat up and goes on to produce dank vapour. Some of the other induction cups might take longer, around 20 seconds, to heat up efficiently.
|Also Read: What is Kief: How to Collect & Use It? |
Vapour Quality & Flavour
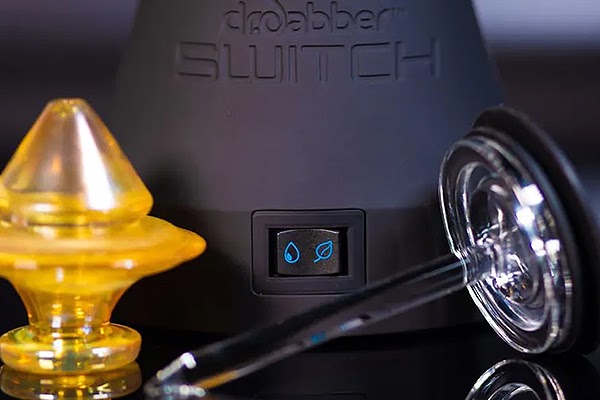
The Dr Dabber Switch offers two modes - The dry herb mode and the oil mode. We will be starting with the performance of oil mode, and then moving on to the leaf one.
Performance in Oil Mode
The oil mode allows you to use two methods - the pre-load method or the traditional dab rig. The traditional way requires the addition of a glass dab tool since the device runs on electromagnetism. You can either pre-load it or load it after heating, whichever way you prefer. Most people like to pre-load since it is less messy.
The heat settings offered with the dab hits works pretty well. The two higher settings offer either more flavour or more vapour. The third setting is a combination of clouds and flavour. The fourth setting is for a stronger hit, with the fifth one completely blowing off the roof - intense hits!
The Switch takes 5-6 seconds to heat up. And once done, offers pretty dense vapours, a culmination of flavours, and a long-lasting hit. The carp cab enclosed with the device is designed for very tight airflow. It moves all the vapour into the glass percolator, and once you release the cap, you get a huge direct lung draw. To avoid the massive hit, release the carb cap slowly, controlling the airflow.
Performance in Leaf Mode
The dry herb mode with the Switch is pretty satisfying. The different heat setting allows you to experience the vaporizer smoke, as well as the feel of a real, traditional bong.
My friend concluded that the lower settings are much like a vape, and the higher you go, the more it feels like torching a bowl. However, it is a universal agreement that past the second heat setting, the vapour becomes too hard-hitting.
The lower two settings offer the authentic taste of flavour, playing with the palate. The heating time is also impressively quick. Just a word of caution, as you move higher in the heat setting, the herb may turn black. It might not be necessarily burnt, but the flavour is compromised.
The overall performance takes away the prize, and the fact that you have the option for different settings makes it even more tempting!
Many reviews mention that the Switch is essentially a dab rig only, and the performance with the leaf mode is sub-par. But as a hardcore bud enthusiast, I found the quick heating time, the different settings, and the impressive airflow to be anything but sub-par.
Cleaning and Maintenance
The Cleaning of the Dr Dabber Switch is not a tedious process. If you're doing the DIY method, it might take a while to clean it since there are so many different pieces like the induction cup, glass attachment, filters, and even the device itself. You can use isopropyl alcohol, Q-tips, and maybe even sea salt and paper towels to do the deed.
The self-cleaning cycle can be opted for when you don't want to go through the whole process. Set the switch to the highest setting by holding down the (+) button, and once the maximum temperature has reached, hold it down for five seconds. This will initiate the self-cleaning cycle, which can be terminated any time using the power button. The self-cleaning cycle works only with the ceramic nail.
For deep cleaning, dunk the induction cup in isopropyl alcohol for a few minutes before wiping it with Q-tips. If the cup is filthy, the self-cleaning function might leave a stain on the inner glass part. To clean the percolator, add some sea salt and alcohol in it, and give it a good shake. Empty out the solution and wash it until it is squeaky clean.
How do you use the Dr Dabber Switch?
Step 1: Set the power switch to the desired mode - concentrates or herbs.
Step 2: Carefully handle the glass bubbler and fill it with water - not completely. Attach the bubbler to the unit.
Step 3: Use the (+) and (-) button to choose the desired setting.
Step 4: Place the ceramic cup inside the coil with the help of the included tweezers.
Step 5: Place the wax/herb in the cup, and press the (Go) button. If you're dabbing, it might be better to start the heating process after the dab is in place.
Step 6: Inhale from the mouthpiece for the dankest hit!
FAQs
Is the Dr Dabber Switch good for flowers?
A: Definitely! Dr Dabber Switch is meant to be used with concentrate and flower and works equally great with both of them.
How do you hit the Dr Dabber Switch?
A: Hold the (+) button, until it reaches the desired level, and hold it for five more seconds. Once the lights turn Red, let it run its complete course.
How do I clean my Dr Dabber Switch?
A: Set the switch to the highest setting by holding down the (+) button, and once the maximum temperature has reached, hold it down for five seconds. This will initiate the self-cleaning cycle, which can be terminated any time using the power button.
How long does it take to charge the Dr dabber Switch?
A: It takes around 60 minutes to completely charge, and it will give you around 148 hits.
This was our extensive Dr Dabber Switch review. You can check out the product on Olivastu, maybe even look at a few reviews and make your decision. It's honestly one of the most precisely curated and packed with technology for the ultimate experience.
![[REVIEW] We Used the DynaVap M 2020 & Here is What We Think](https://www.olivastu.com/media/magefan_blog/Featured-dynavap.png)
![[Review] G-Pen Elite Dry Herb Vaporizer - Is it Worth the Hype?](https://www.olivastu.com/media/magefan_blog/Featured20.jpg)
![[REVIEW] G Pen Elite vs Pro: We Tried Both & Here's What We Think](https://www.olivastu.com/media/magefan_blog/G_Pen_Elite_and_Pro3.jpg)